
Salesforce DevOps with Copado: A Beginner’s Deployment Guide
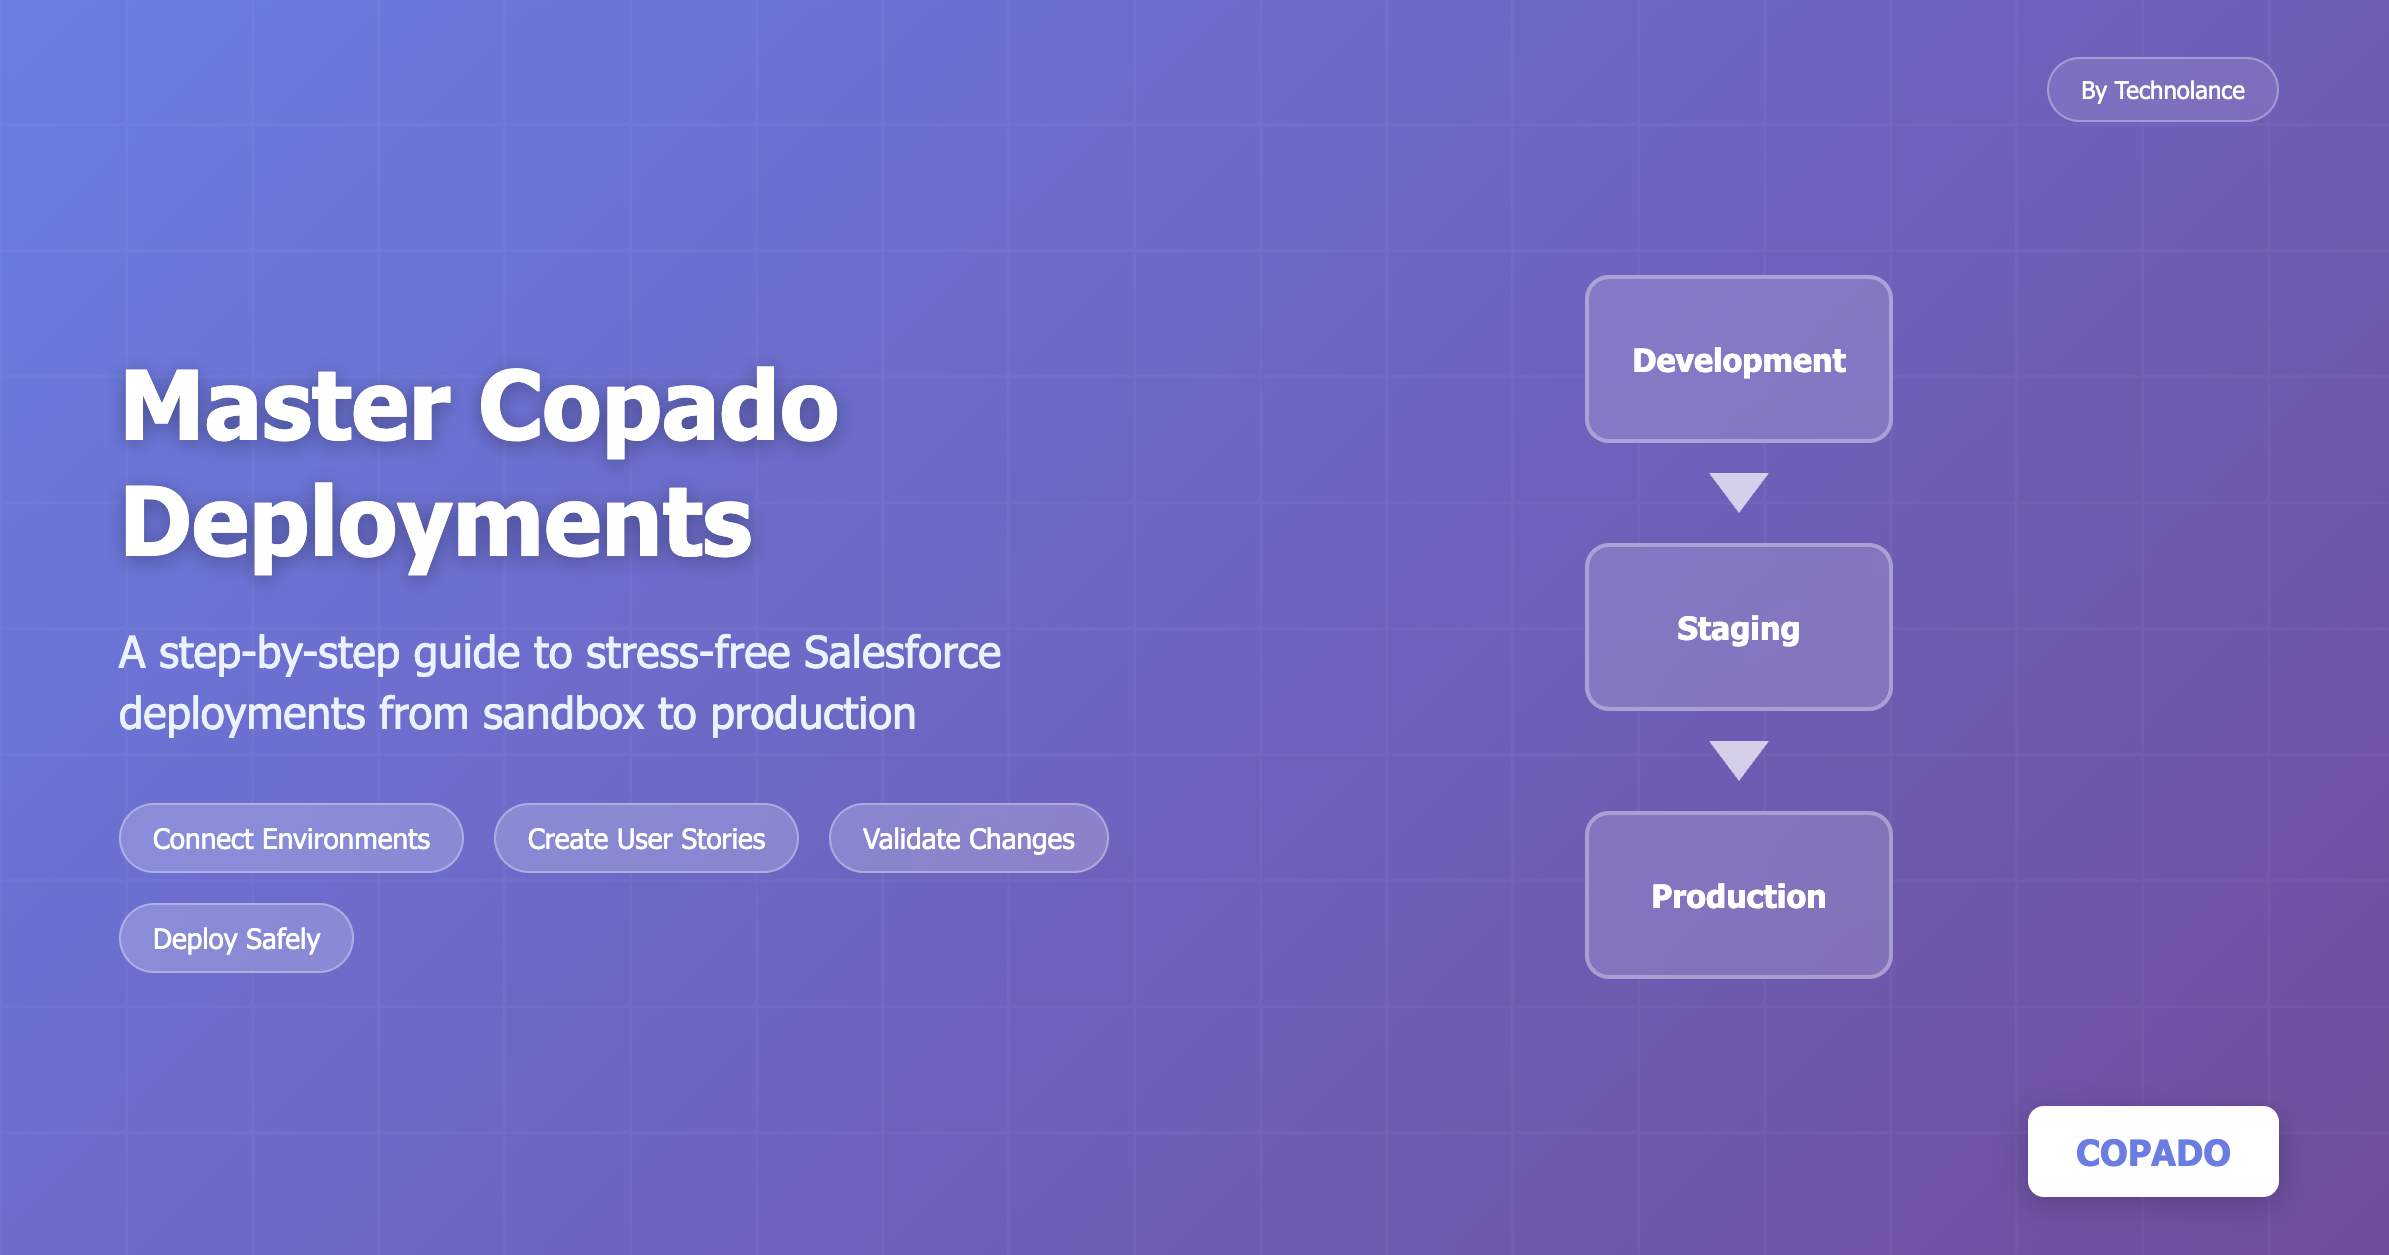
Copado transforms stressful Salesforce deployments into a streamlined 5-step process that eliminates manual errors and reduces deployment anxiety. This comprehensive guide walks you through connecting environments, creating user stories, validating changes, and safely promoting to production with confidence. Master these proven deployment practices to deliver faster, more reliable Salesforce changes while maintaining complete control over your release pipeline.
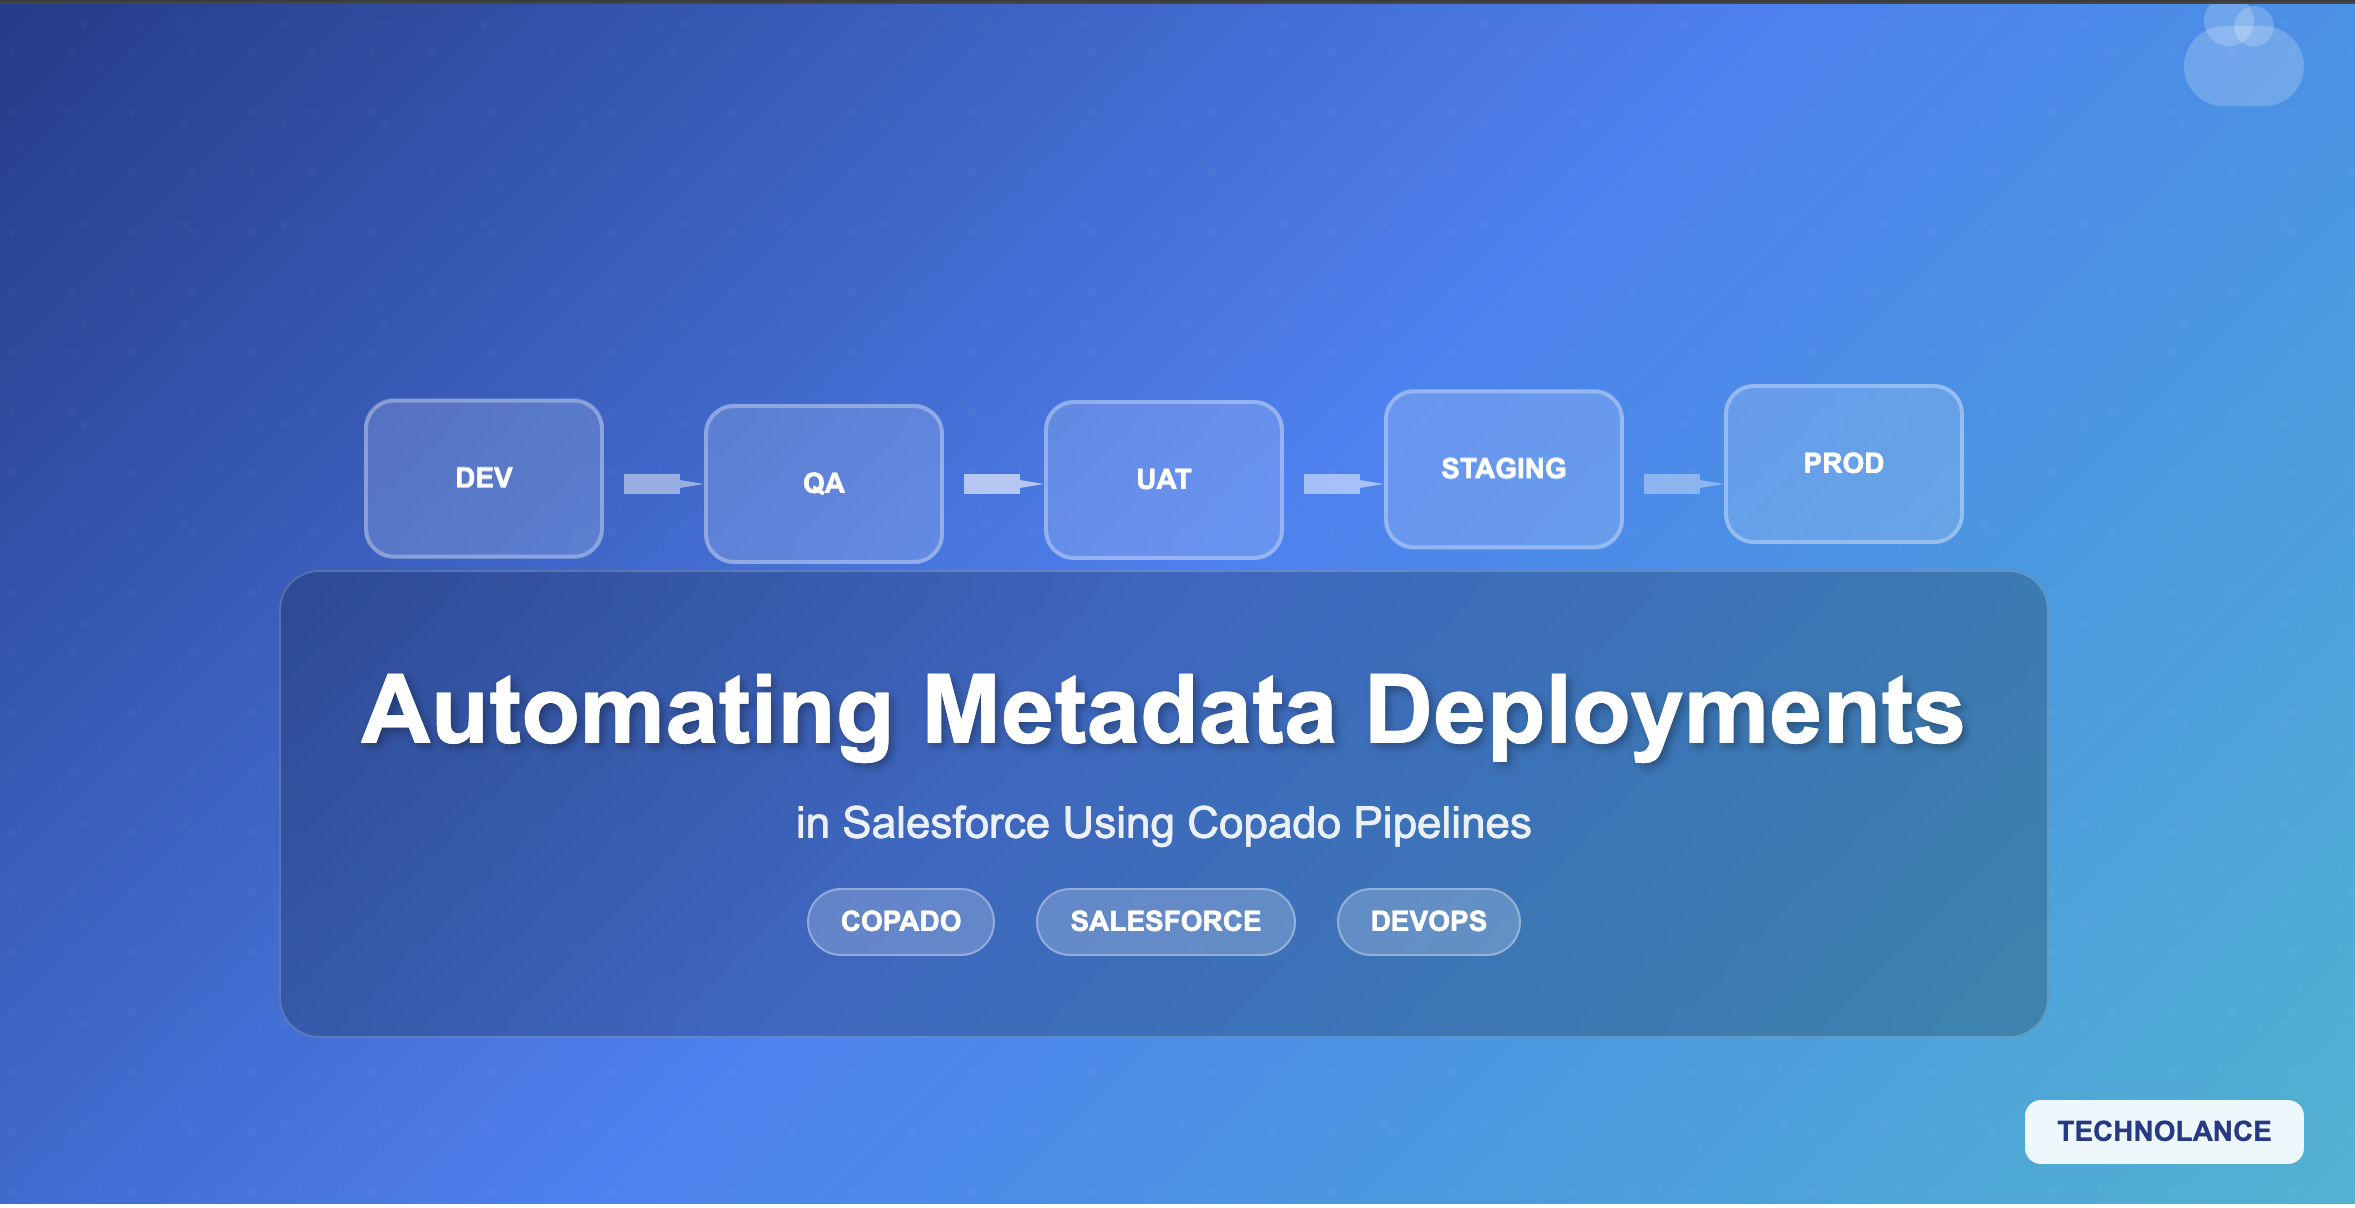
For many Salesforce teams, moving changes from a sandbox to production can be one of the most stressful parts of development. It often involves long checklists, repeated testing, and the constant worry that something might break after the deployment.
Copado is a DevOps platform created specifically forSalesforce. It makes deployments faster, easier, and more reliable. Copado works for both new and experienced Salesforce teams because it helps deliver changes with more control and fewer errors.
If you are new to Copado or planning your first deployment, here is a simple step-by-step approach that we recommend. Following these steps will help you avoid common mistakes and give you a process you can repeat for every release.
Step 1: Connect Copado to Your Salesforce Environments
The first step is to link your development sandbox, staging sandbox, and production environment to Copado. This is done through secure authentication and only takes a few minutes.
Why this matters
When all your environments are connected, you can track changes and move them through the release pipeline without manually creating. deployment packages. This saves time and reduces the risk of missing components.
Technolance recommendation
Name your environments clearly in Copado so there is no confusion during the promotion process.
Step 2: Create a User Story for Every Change
In Copado, a User Story is the starting point for all deployments. It is not just a note about the work being done. It also stores the metadata that will be moved between environments.
We suggest you:
· Write a clear summary of the change, for example “New custom object and related automation”
· Link the User Story to the development sandbox where the work was done
· Commit the metadata to Copado’s version control repository
Why this matters
Organizing every change through a User Story makes it easier to track progress and roll back if something goes wrong.
Step 3: Commit and Validate Your Changes
Once your metadata is committed, run a validation against the next environment in the pipeline, usually staging.
This process checks for missing dependencies and conflicts without making any changes to the environment.
Why this matters
Validation allows you to catch and fix issues early, before they can cause problems in production.
Technolance recommendation
If your changes involve multiple objects or complex automation, run validation more than once to be sure everything is working as expected.
Step 4: Promote the Change to the Next Environment
After a successful validation, promote the User Story from development to staging. In Copado this is a straightforward process, but it is important to review everything carefully.
We suggest you:
· Check the deployment summary in Copado
· Review the list of metadata components being moved
· Take a backup of the staging environment before promoting changes
Why this matters
Even with automation, human review is still important to prevent mistakes.
Step 5: Deploy to Production
When your change is tested and approved in staging, it is ready to be deployed to production. The process is the same as promoting to staging, which makes it less intimidating for new users.
Technolance recommendation
Schedule your production deployment during a period of low system usage. Let your end users know about the change window in advance.
How Copado Boosts Salesforce Teams
From our experience, Copado is one of the most effective tools for Salesforce DevOps. It combines version control, metadata management, and automated deployments in one platform.
By using Copado you can:
· Reduce manual work and human error
· Keep every change traceable through version control
· Move faster without sacrificing quality
· Maintain a consistent deployment process across all environments
Technolance Expertise in Salesforce Deployments
At Technolance, our Salesforce DevOps specialists can help you set up Copado, design deployment pipelines, and train your team to follow best practices. Whether you are deploying your first change or managing multiple releases at the same time, we can help you make the process smooth and predictable.
Deployments can be simplified by connecting your environments, organizing work into User Stories, validating changes, promotingwith care, and planning production deployments properly to create a reliable process for every release.
Copado provides the tools to make this easier. Technolance provides the expertise to help you use those tools in the most effective way.
If you want to improve your Salesforce deployment process and reduce deployment errors, our team can guide you from setup to production.
Contact the Salesforce DevOps team at Technolance Get in touch
More stories of success
Explore how Innovia has helped other businesses achieve their goals through innovative strategies and impactful solutions.

Governor Limits Demystified: How Our Developers Write Efficient Apex Code That Scales
Ready to elevate your business?
Connect with our expert team today and discover how we can turn your digital challenges into opportunities for growth.
Stay ahead in the digital world
Get the latest insights, case studies, trends, and strategies delivered straight to your inbox.